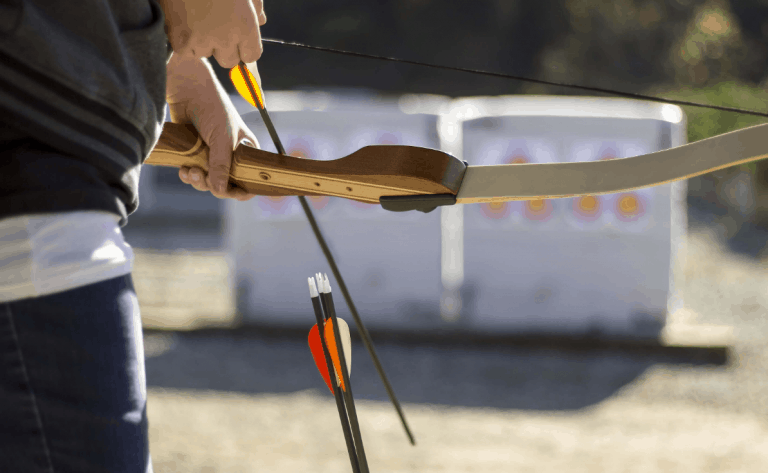
Recurve bows propel arrows to a greater distance and with increased power as compared to a conventional bow. They are popular for their versatility and their drawback power depends on how well they are constructed. Learn how to make a recurve bow in a few simple steps with our mini-guide.
It takes years and plenty of skills to make an ideal recurve bow. Let us help you get started with the following steps:
Table Of Contents
Preparing the Recurve Bow
Step 1
Start by purchasing a wooden stave. This will be used to shape your bow. The wooden stave needs to be of the same length as you desire your bow to be. The material of the stave should be strong, durable, malleable, and flexible.
The ideal materials to use when making a bow are maple, hickory, lemonwood, and yew.
Step 2

Now gather the following tools to make the process convenient:
- Vice grip
- Tillering stick
- Hatchet
- Bow shaping frame
- A drawknife
- Round object
- Heat Gun
- Screw Clamps
- A large file
Step 3
Using a pen, mark the outline of the arrow rest and the limbs of your bow. Now stand the stave upright in one hand and swing the hatchet with the other. Make sure that you make the sides of the stave as smooth as possible.
Now the decision of choosing between narrow limbs, wide ones, or flat ones is entirely up to you. Make your decision and create a mark where you desire your handle to be.
Step 4

At this point, you need to test your wood stave. See that it bends properly when you put the bottom tip against the instep while holding the upper tip in place with one hand, and pull them back towards you.
The side should face away from you when you are shooting. But don’t overdo this step, as you might end up ruining your stave.
Step 5
Now it’s time to shape the limbs. After you’re done getting the bow into an outline with your hatchet, place the handle portion of your wood stave in the vice and properly tighten it.
The back should be facing in an upward direction. Take your drawknife and in long strokes, draw the knife along the stave. Keep doing this until your stave reaches the same thickness as you want for your bow.
Step 6
Using sandpaper, sand down any ragged and rough edges in the wood stave. Remember, if you make your bow too thin, it will be likely to break.
Shaping the Recurve Bow
 Step 1
Once you have prepared your bow, depending on the curve you want for it, move it to various segments of the bow shaping frame accordingly. Two curves are required for the recurve for each limb.
One needs to be away from the handle while the other needs to be back towards the handle. To secure the stave to the frame, use some screw clamps. If you are having difficulty in doing so, using a heat gun, heat your stave up, and then secure that section properly to the shaping frame.
Step 2
The measurements need to be extremely precise, therefore bend both the limbs as equally as you can. To do so, simply bend the wood stave at almost an equal distance from each end of the handle.
Step 3
Now to avoid any messy situation, leave each section properly secured in the bow shaping frame for about 12 hours. If 12 hours isn’t doable for you, then make sure you leave them for at least 6 hours. This allows the wood to set firmly in position and it will also ensure a longer life span and increased effectiveness.
Stringing the Recurve Bow
 Step 1
Start by cutting notches for the string and put them into the bottom and top of the limbs. Notches are responsible for holding the bowstring in position. Using an elongated cylindrical file for this purpose is considered to be ideal, but you can also use a knife and a narrow, flat file.
To protect the durability of the exterior wood, cut the notches on the interior of the bow.
Step 2
Tillering means to provide your bow with a draw. Once your bow has reached the desired shape, install a tillering string on it to tiller it. The length of the tillering string needs to be almost double the length you want your bowstring to be.
Tie a stable loop on both ends of the string and secure it to the notches on the limb. You can make use of a parachute cord for a tillering string.
Step 3
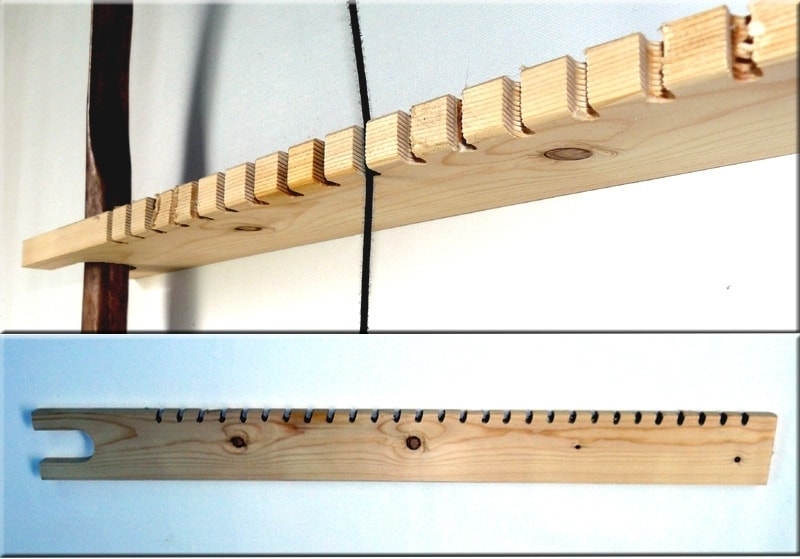
Pull the tillering string to one of the notches that are closer to the upper portion of the tillering stick. Now slowly pull the recurve bow further and notice the bending of the bow.
As it’s often said, slow and steady wins the race. It is best to execute the tillering process slowly and gradually.
At this point, if you start hearing an unusual sound from the bow, stop right here, and using your large file, shape the limbs further. It can take a few months for the tillering process to complete; executing it slowly will allow you to enhance the draw of the bow to a suitable length.
Step 4
After your bow has reached an acceptable draw, it’s time to remove it from the tillering stick and take the tillering string off. Bind the bowstring by looping both ends around the notches. In terms of bowstrings, nylon is quite a popular choice.
Step 5
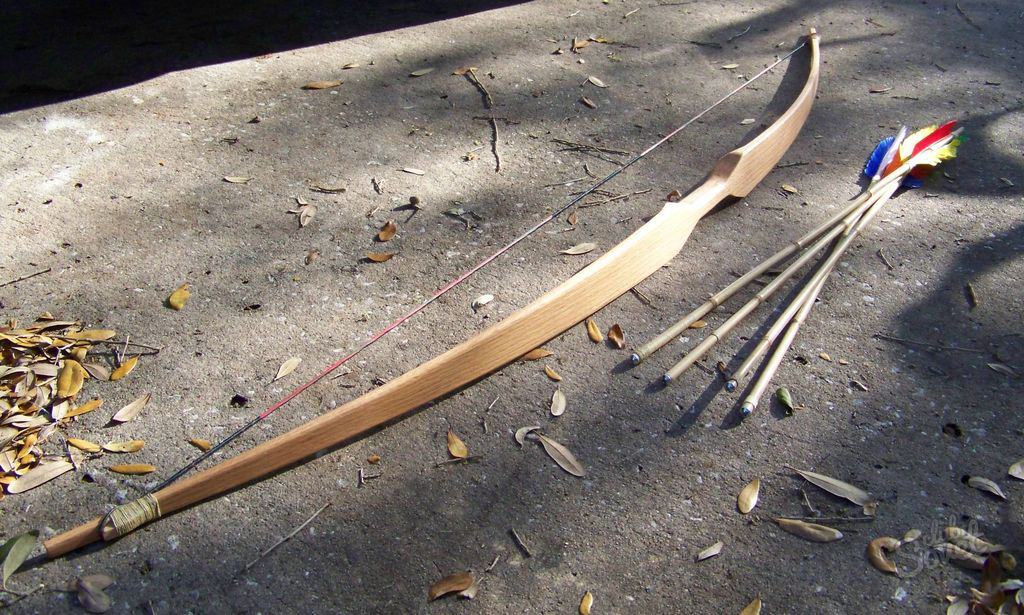
Once you’re done with the tillering process, it’s time to finish the bow by adding your choice of artwork, the protective covering, or leather of your choice to give it a finished look.
Enjoy your recurve bow!