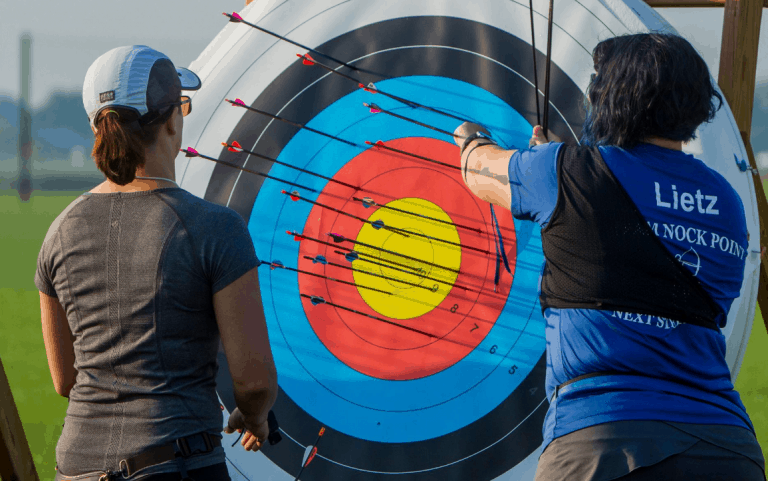
When it comes to archery practice, you can shoot at targets made from different materials like Styrofoam and straw bales. However, most of these are subject to extreme wear and tear and they can easily ruin your precious arrows.
A self-built archery target will last at least a few years.
Make a lifetime target with our following mini-guide:
Table Of Contents
Things You’ll Need
 Materials
- Red and black duct tape. (You can use any two different colors of your choice)
- Square cardboard box
- 2 wooden slabs
- Rope
- Plastic bags or wraps
Tools
Drill (1/4 inch drill bit and 1/2 inch hole cutter bit)
A box cutter knife
Method
Step 1
 Take a box with dimensions around 20 X 20 X 10-15 inches. If you don’t have a cardboard box of the mentioned dimensions lying around, you can always create one by cutting measured pieces from various cardboards and taping them together.
These measurements allow the box to be durable as well as portable enough to be carried around with ease.
The depth allows the target to have the proper power to stop the arrow, therefore it is recommended to have a depth of at least 10 inches going up to 15.
For compound bows, if you keep the depth any less than 8 inches, every time you shoot your arrow, your target can fall or your arrow can run directly through the target.
Step 2
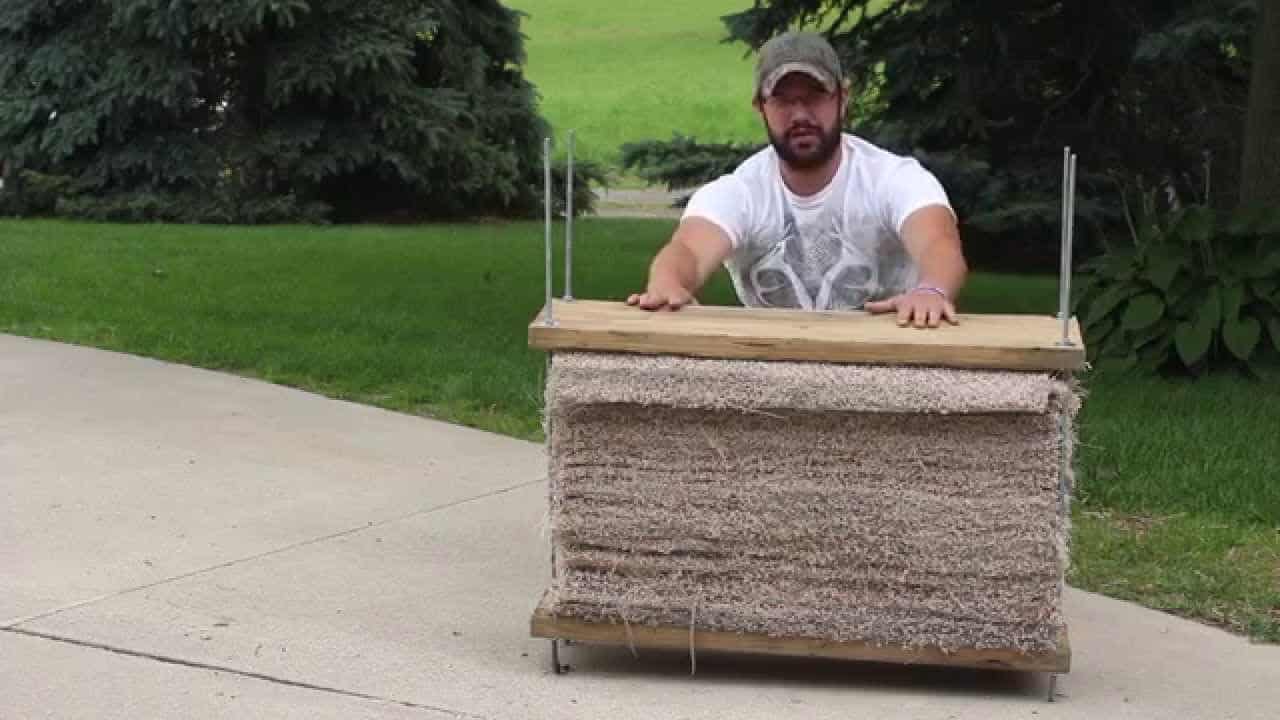
Before you start filling your target shell with plastic wrap, you should find two pieces of wood that you can fit at the bottom and the top of the interior of the box. These pieces of wood add to the weight and stability of the target.
Now cut two slabs of wood and place one of them in your empty cardboard box. Once you fill the box with plastic wrap, you don’t want any bulges. Using the duct tape of your choice, cover all sides of your box to give it a firm structure.
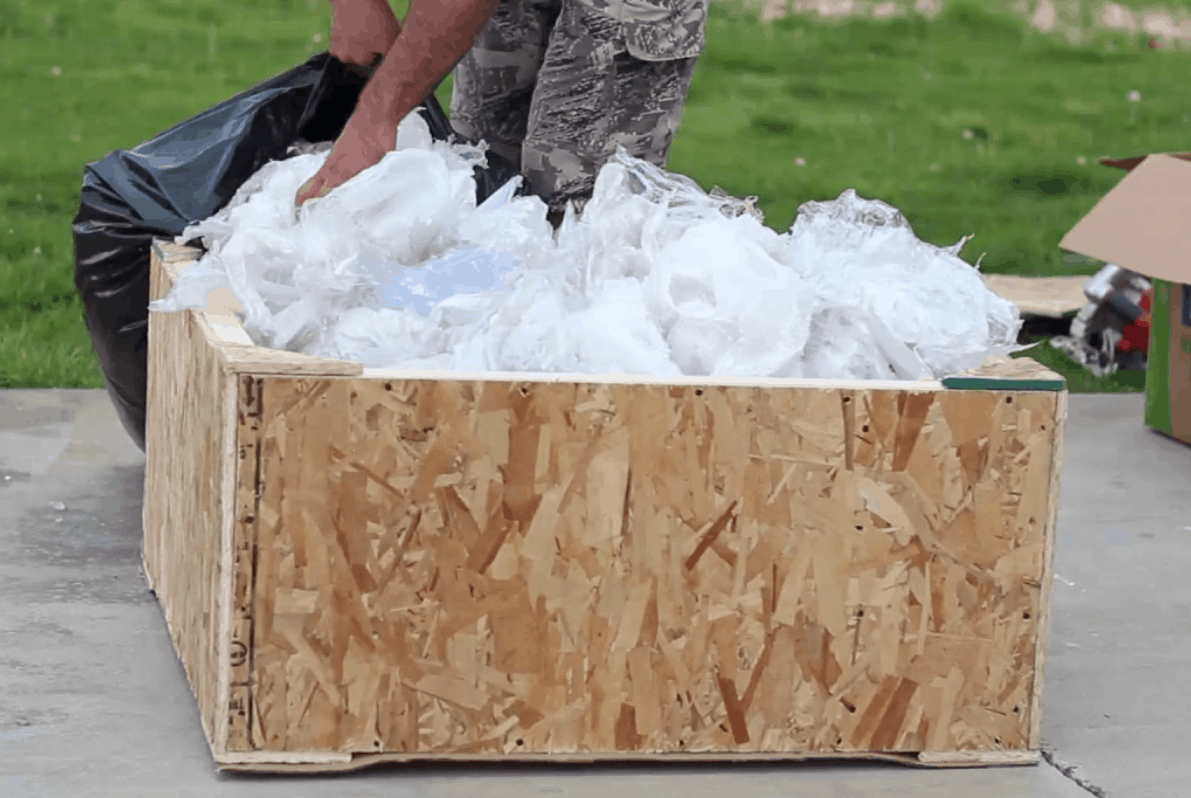
Now fill the box with the plastic wrap and compress it as much as you can. The wooden base and the taped sides will prevent the box from changing its shape. Make sure you don’t push too hard to entirely ruin the box. Keep filling the plastic until the box is overflowing with it.
Step 3
 A handle on your target will allow you to carry it with ease and you won’t have to bear-hug it to transfer it from place to place. The handle also adds to the target’s aesthetic value, and gives it a finished look.
Simply pick up your drill and the second piece of wood that you cut. Position your hand on the wood and create two marks right in the middle. Keep a reasonable distance between the two marks (no need to measure this exactly) and use a ¼ drill bit to drill straight through the wooden piece.
Flip the drilled wood around and with a ½ inch drill bit, drill half-way through the wood. Do this from the underside to give the handle increased stability. Now mark the top flap of your box so that they match the holes in the wooden piece.
Place the wood under the top flap and feed the rope neatly, first through the wood from inside the box and then the flap. Pass the same rope through the second hole (first through the flap then the wooden piece). Tie tight knots on the inside to secure the handle in place. Cut off any excess rope.
Test the handle, once firm, press the top flap firmly, and secure it tightly with duct tape. Add an extra layer of duct tape all around the box to ensure durability.
Step 4

To create multiple targets around your main target, all you need to do is use the duct tape of the second color and create several options for yourself to aim at when you shoot. Selecting contrasting colors to do is good practice so that the targets are easily visible to you at a greater distance.
You can use different styles and different colors of your choice to execute this step.
You can also use the back and the sides of the box to create extra targets. This will allow your main target to become versatile and you can rotate it at various angles for increased applications.
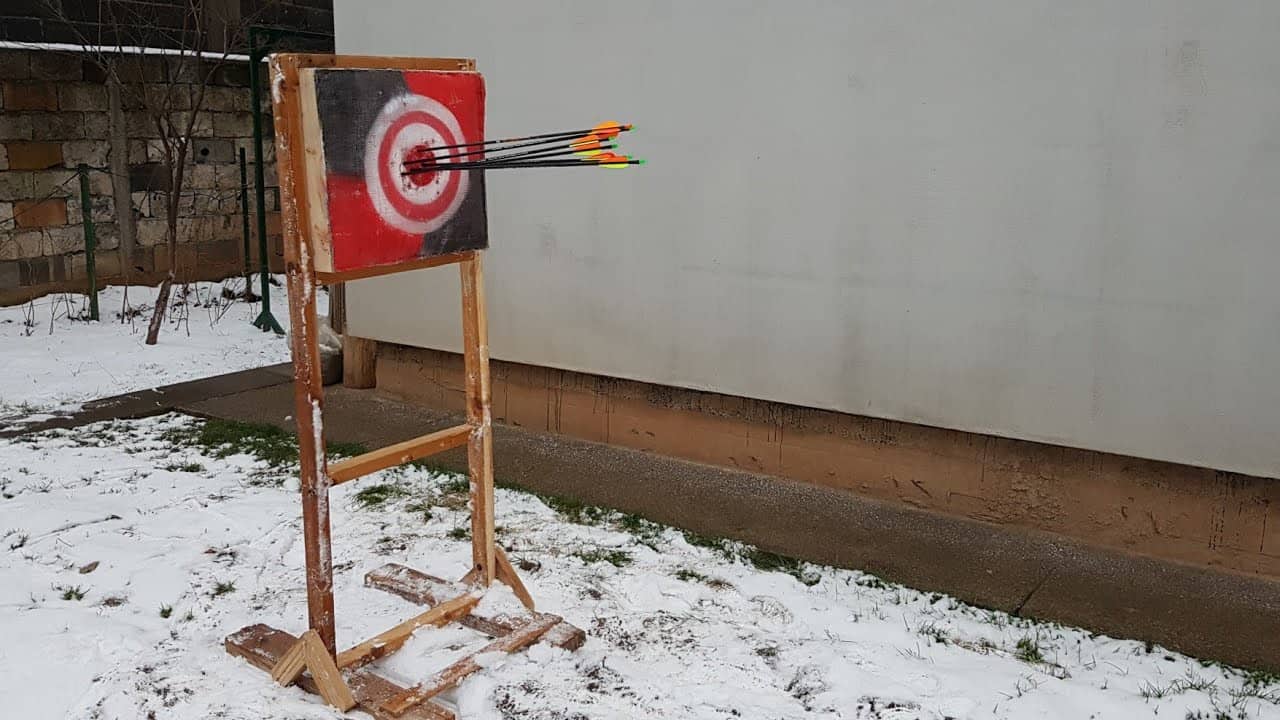
Voila! Your archery target is ready to be used!
Step 5
The last step is to shoot and have loads of fun!
Penetration Specifications for a 70lb Compound Bow
- 20 yards: 8-12 inches into the target
- 30 yards: 6-8 inches into the target
- 40 yards: 4-8 inches into the target
Penetration Specifications for a 32lb Recurve Bow
- 20 yards: 6-8 inches into the target
- 30 yards: 4-6 inches into the target
- 40 yards: 2-4 inches into the target
Important Safety Measures
When it comes to archery, taking safety measures is always a must. The following are some important things that you need to consider while you’re at it:
- You need to always be prepared with a kind of backdrop in case you miss your shot
- Make sure your arrows aren’t bent or damaged in any way before shooting
- DO NOT shoot a compound bow within city limits in locations where it is classified as a firearm
- Never point an arrow at any other individual, even if your arrow isn’t drawn
- Wearing an arm guard at all times is strongly encouraged
In the end, remember to have fun!